In a quiet street in the Southern Highlands resides this modest 2-storey home.
Attached to the rear of the home, above the rear garage door was this very tired, uninviting, cramped, dark, spider infested, old deck.

At just 2 metres wide and 4 metres long, with a narrow landing leading to the door, and a badly located set of rotting stairs, this deck was basically un-usable for anything other then storing the little BBQ trolley and an old chest freezer. So we set to work designing a completely new deck, with a new set of more practical stairs, and utilising 2 large trussed beams to allow vehicle access from the garage into the rear yard.
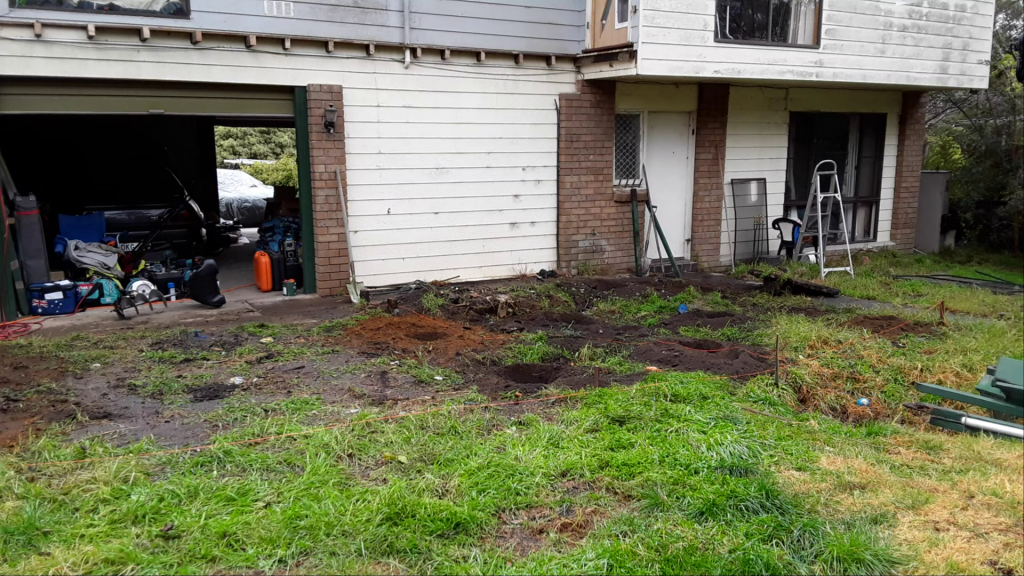
The first stage of construction involved a lot of destruction. It was a lot of fun to pull the old decking structure from the house and prepare the site for the new build. It took a full Friday to pull the old timbers down safely, and by the following Monday the owner had burnt everything in his fire-pit, along with a lot of cut down shrubs and garden waste they had spent the weekend clearing, the fire was still going on the Tuesday, handy for keeping warm on those cold August mornings.
The set-out of the footings took a long time. Due to the complexity of the structure, everything had to be millimetre perfect down in the ground for things to work out at head height later in the build. Many hours were spent measuring, checking, measuring again, and checking again before the concrete could be mixed and poured, one hole at a time. With so many footings it would have been quicker had I just ordered a concrete truck, but far less accurate and way too easy for things to go wrong, and fixing errors in set concrete mid way through a project is not fun at all.
Once the footings were all poured, and allowed to set for a few days, the real work could begin – Timber.
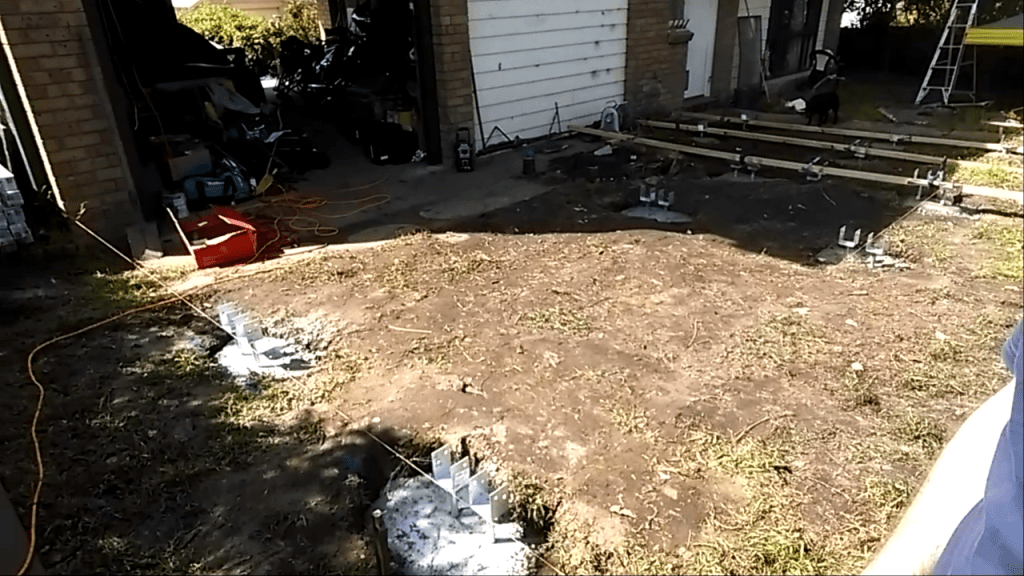
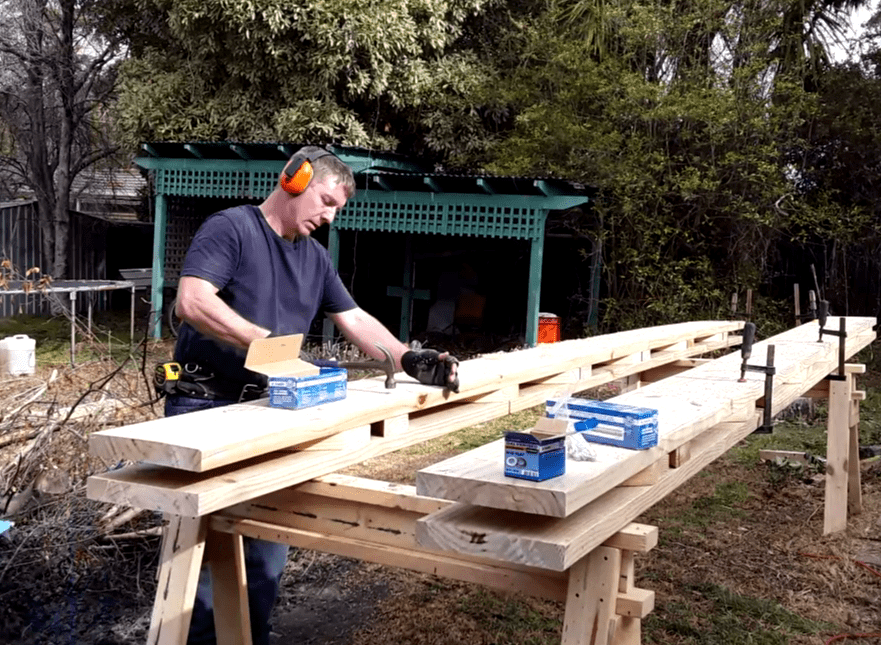
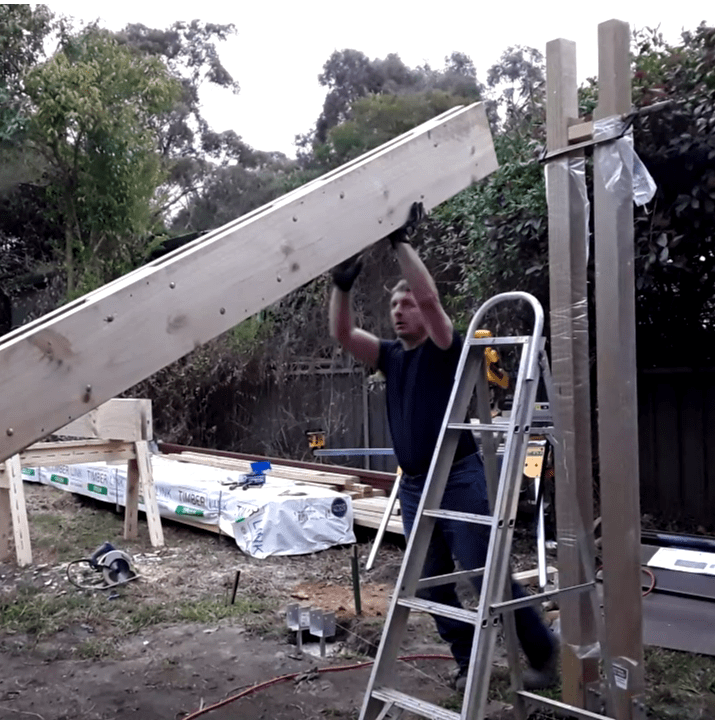
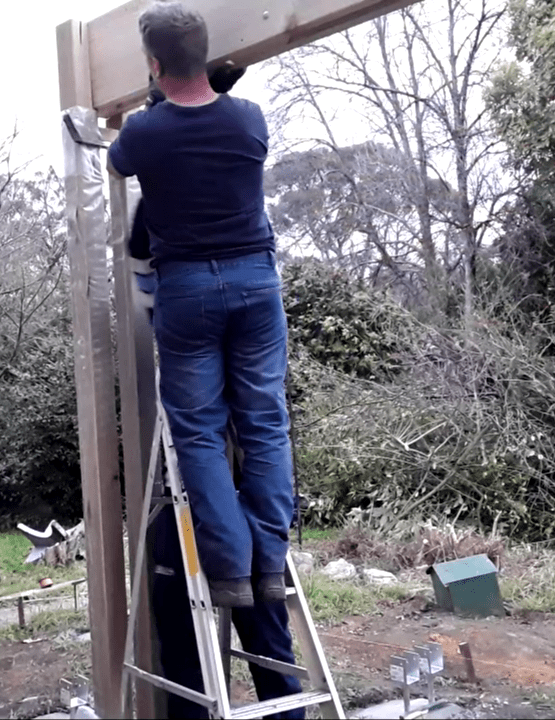
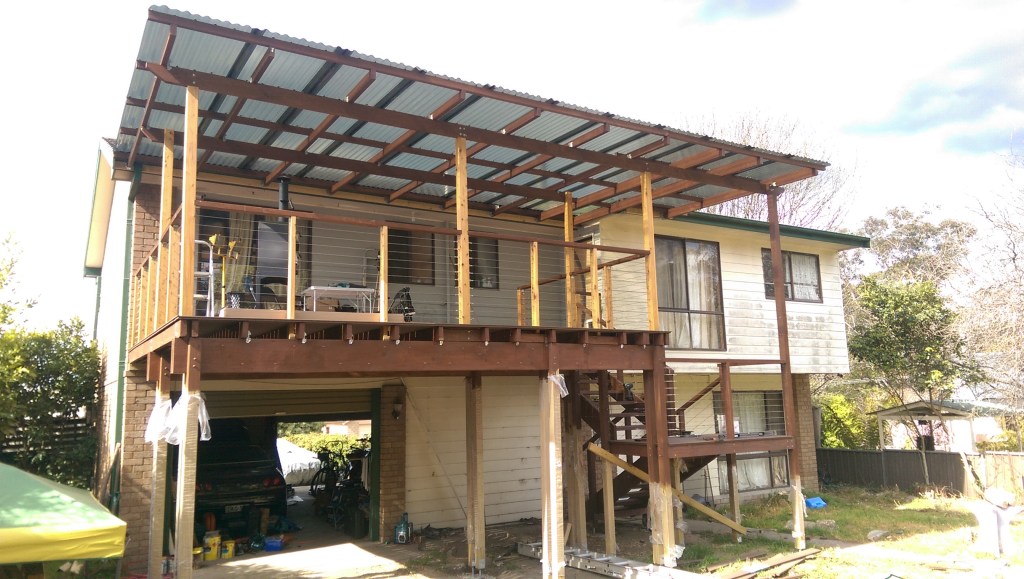
First up was all the posts, of which there were 18, and once they had been installed, 2 unique truss-style beams were fabricated on site to span the 3.8 metre opening for the rear garage, these 5.4 metre long behemoths were then hauled up a ladder to be nested between the double posts, where they were then bolted in place, allowing for the installation of the new joists.
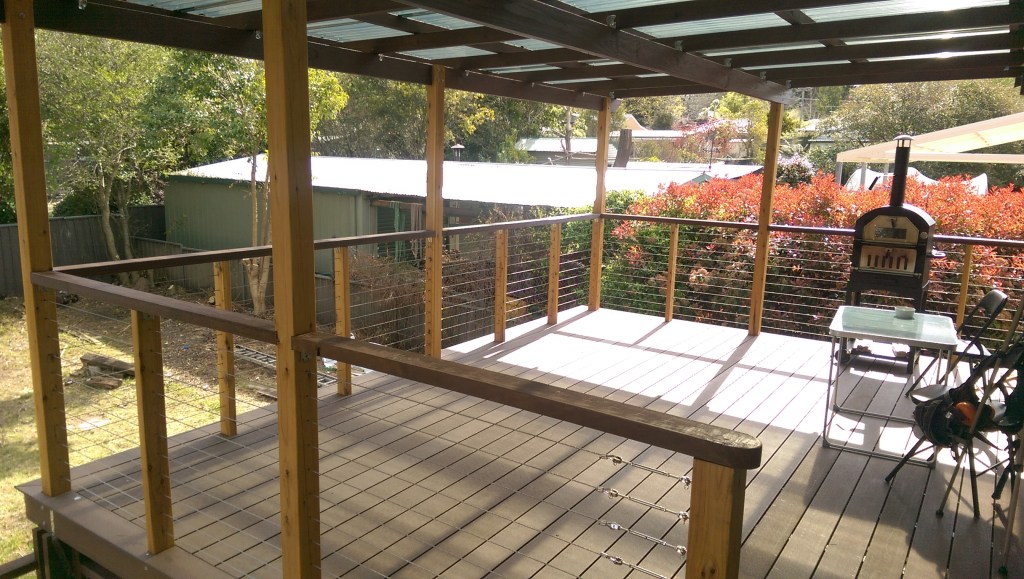
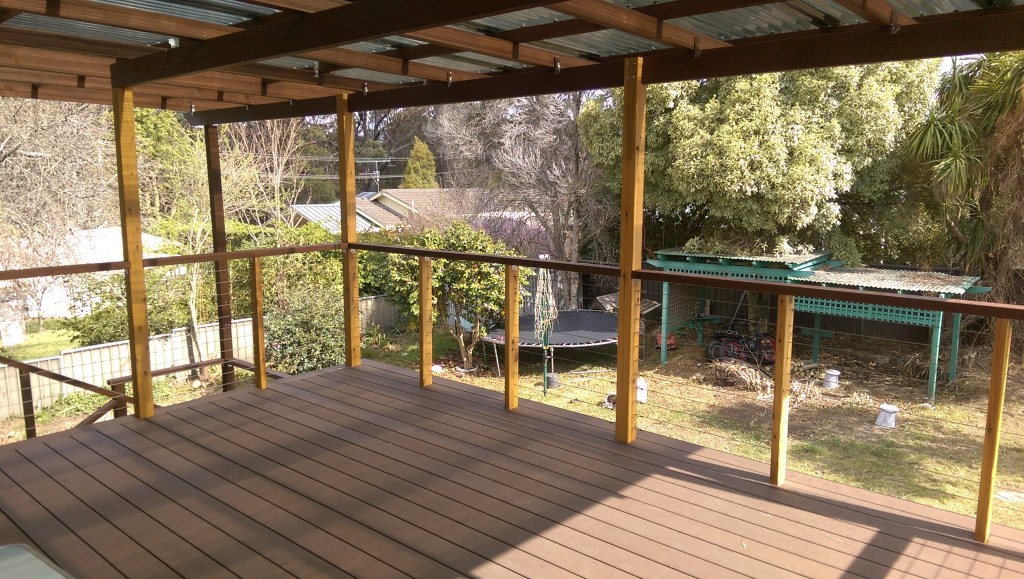
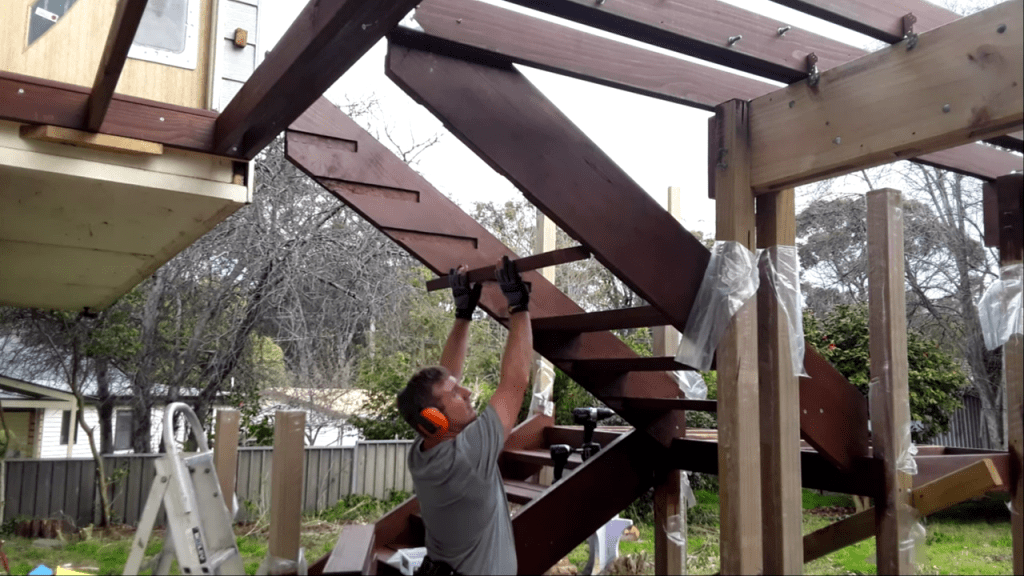
The stairs were then installed to provide access to the upper level, and then the joists were hoisted up, slotted into place, nesting happily in the existing slots in the house wall, spanning out over the new beams where the were then fixed into place with triple grips and at least a years supply of nails. Ekodeck+ decking boards were installed next followed by the upper veranda posts, rafters and polycarbonate roof sheets. The final trimmings included installing the stainless wires and finishing up with the oiling of the cypress posts, and staining of the treated pine posts
A fascia board and gutters were then added to the end of the veranda rafters, as well as thinner Ekodeck boards to the ends of the joists to complete the project, however it seems I don’t have any pictures of that.
The space is much more inviting now, and even before I had completed the project the client had installed and used his new pizza oven.